> ## Documentation Index
> Fetch the complete documentation index at: https://alexcode.ai/docs/llms.txt
> Use this file to discover all available pages before exploring further.
# Installation and Authentication
> Installation and configuration guide for Alex Sidebar
Alex Sidebar extends Xcode with powerful AI capabilities. This guide covers installation and initial setup.
## Installation
Download AlexSideBar.dmg from the [official releases page](https://github.com/DanielEdrisian/AlexSideBar-Public/releases/download/prod/AlexSideBar.dmg).
Open the downloaded DMG file and drag Alex Sidebar to your Applications folder.
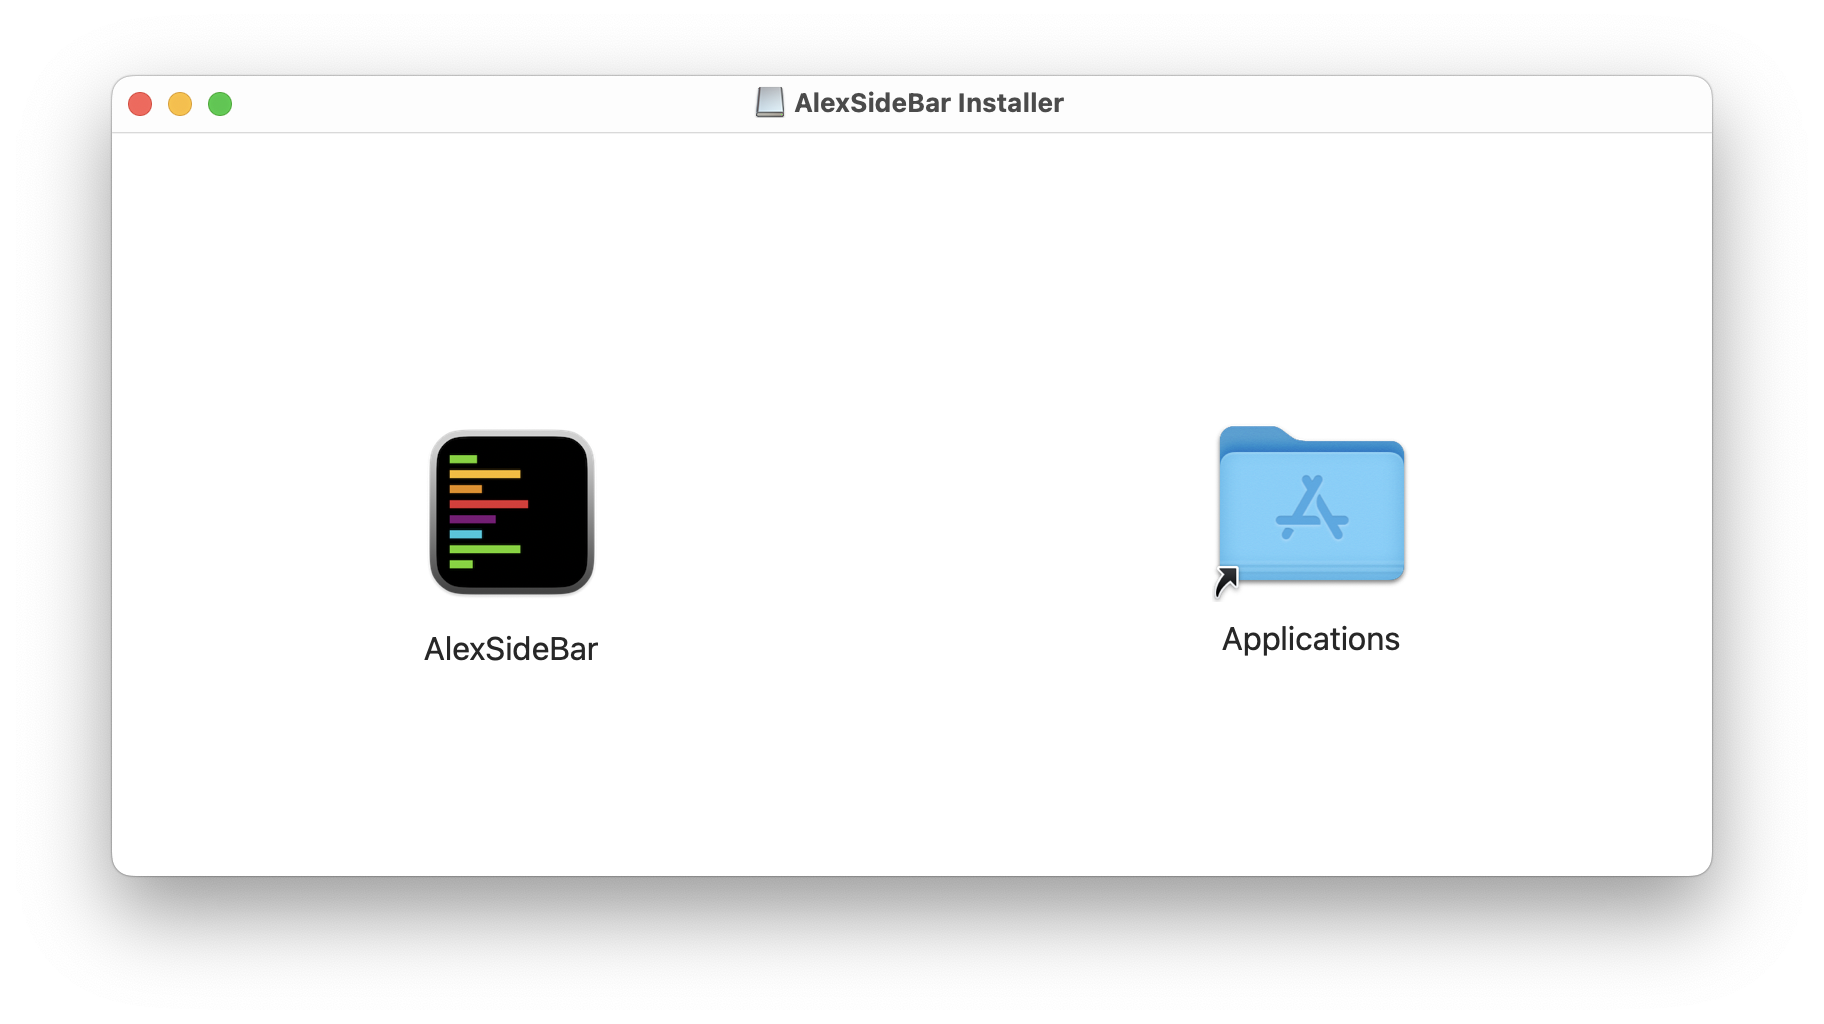
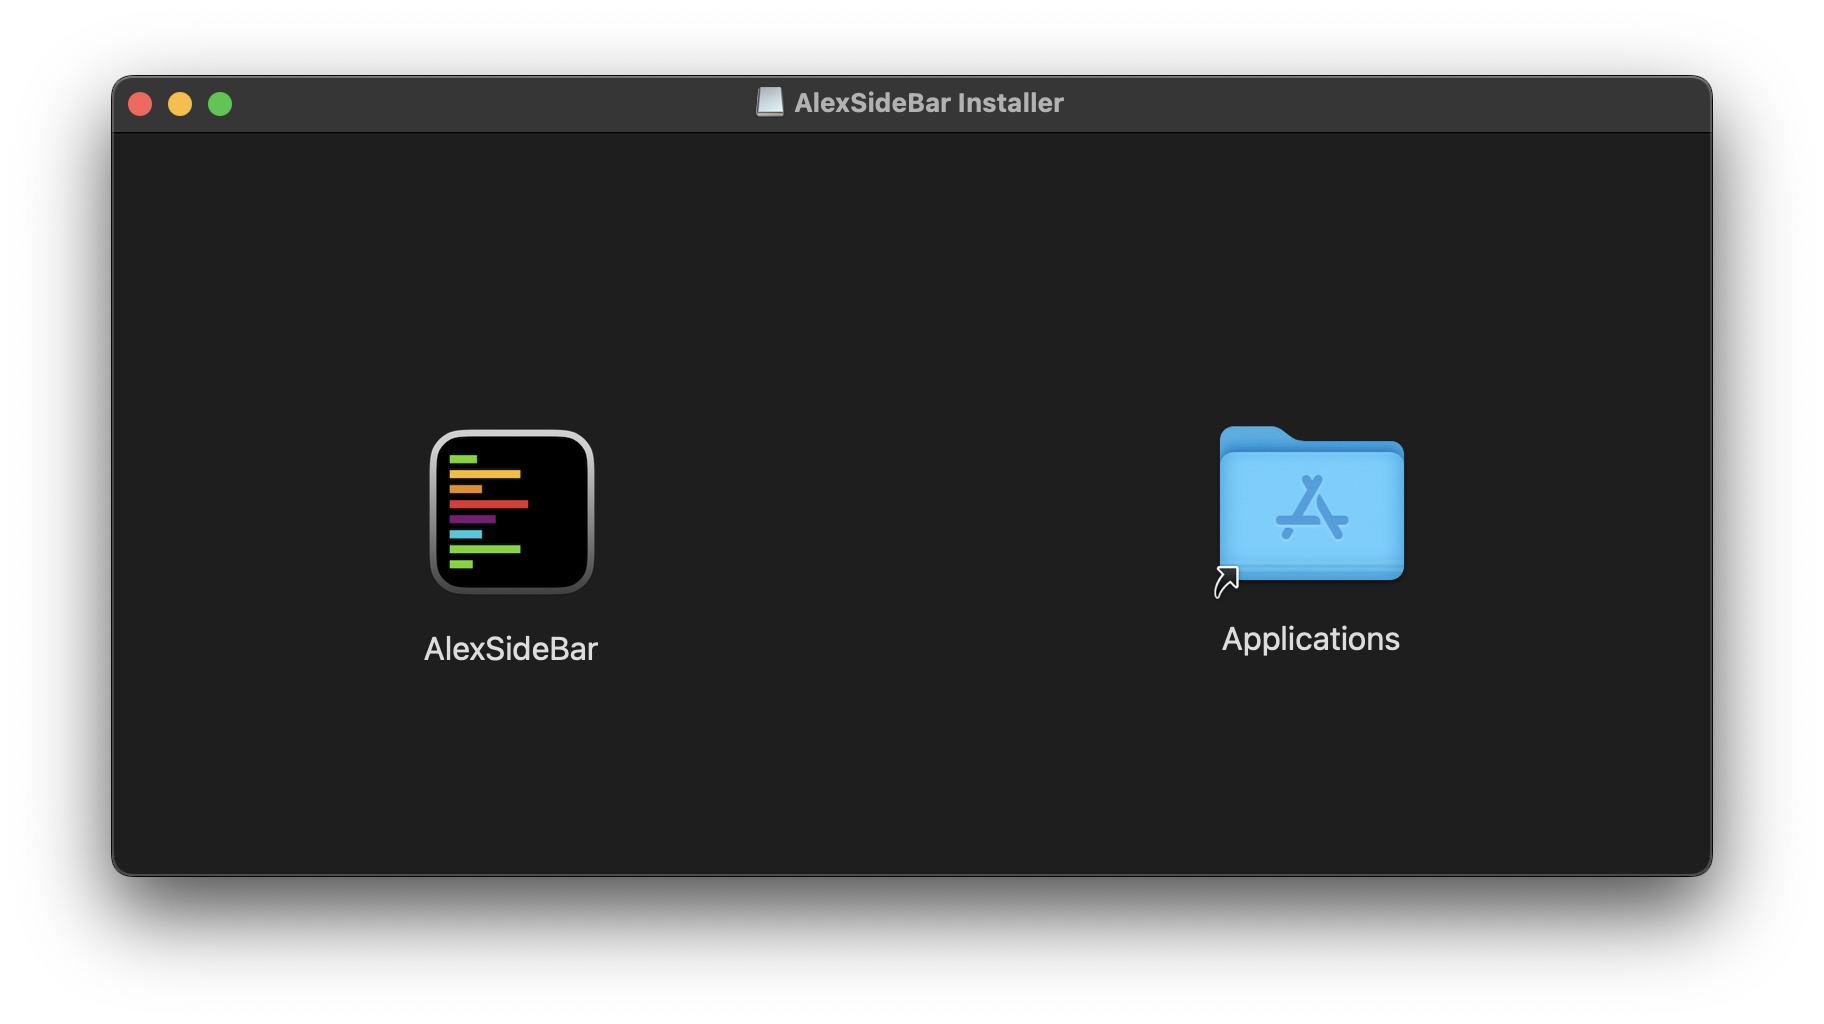 Open Alex Sidebar from Applications. The Xcode integration will initialize automatically.
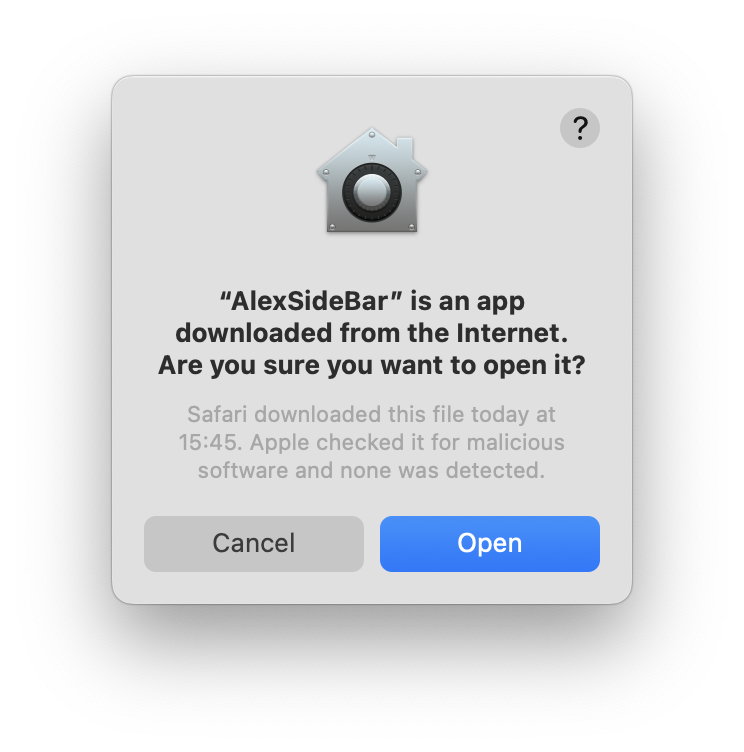
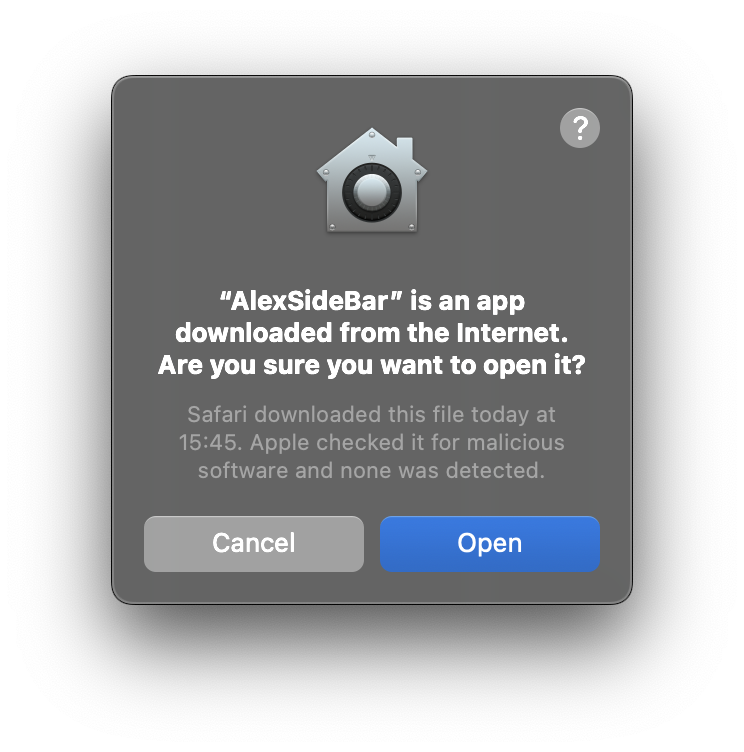
You may see a popup indicating that "AlexSideBar" is an app downloaded from the Internet. It is safe to proceed. Click "Open" to continue.
Open Alex Sidebar from Applications. The Xcode integration will initialize automatically.
You may see a popup indicating that "AlexSideBar" is an app downloaded from the Internet. It is safe to proceed. Click "Open" to continue.
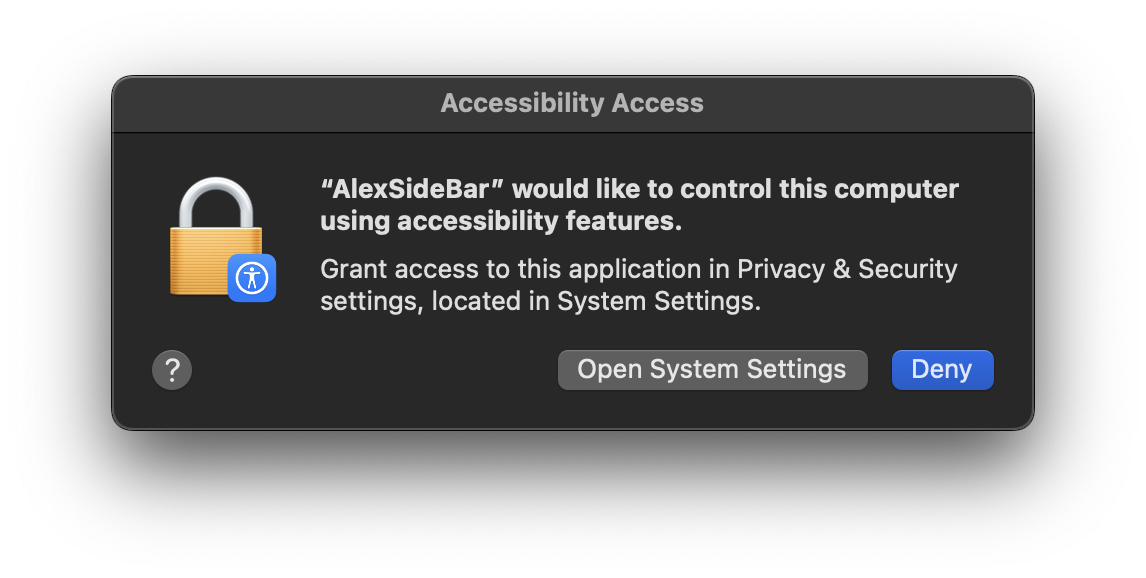
 After launching, Alex Sidebar will request accessibility permissions. These permissions are required to:
* Make changes to files
* Handle Apple events
* Integrate with Xcode effectively
Click "Open System Settings" when prompted, then enable Alex Sidebar in the Accessibility permissions list.
After launching, Alex Sidebar will request accessibility permissions. These permissions are required to:
* Make changes to files
* Handle Apple events
* Integrate with Xcode effectively
Click "Open System Settings" when prompted, then enable Alex Sidebar in the Accessibility permissions list.
 ## Folder Access Permissions
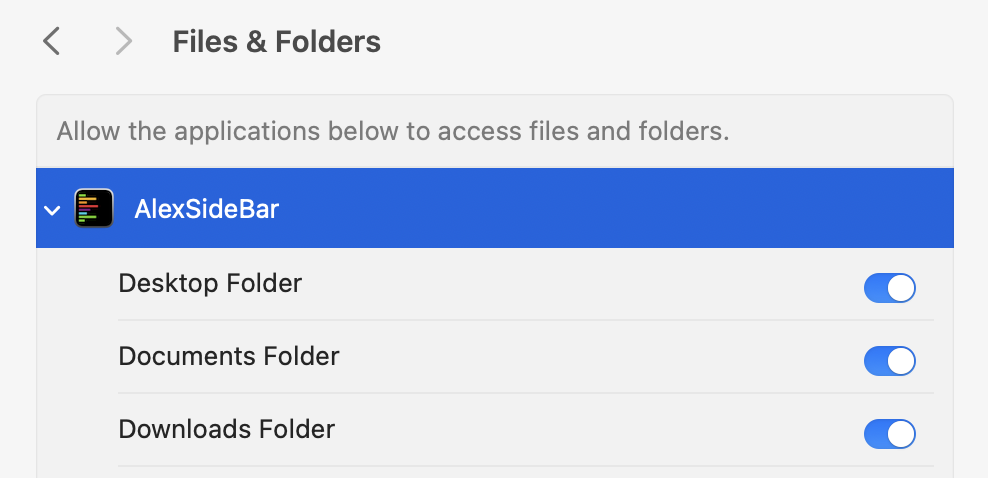
When you first use Alex Sidebar, you will need to grant access to folders where your projects are stored. This permission helps to analyze your project files and provide relevant context to the AI assistant when working with code across different files and folders.
When opening a project, Alex Sidebar will request permission to access the folder where your Xcode project/workspace is located. This typically includes:
* Desktop
* Downloads
* Documents folders
Click "Allow" when the system permission dialog appears to grant access.
If you need to update permissions later:
1. Open System Settings
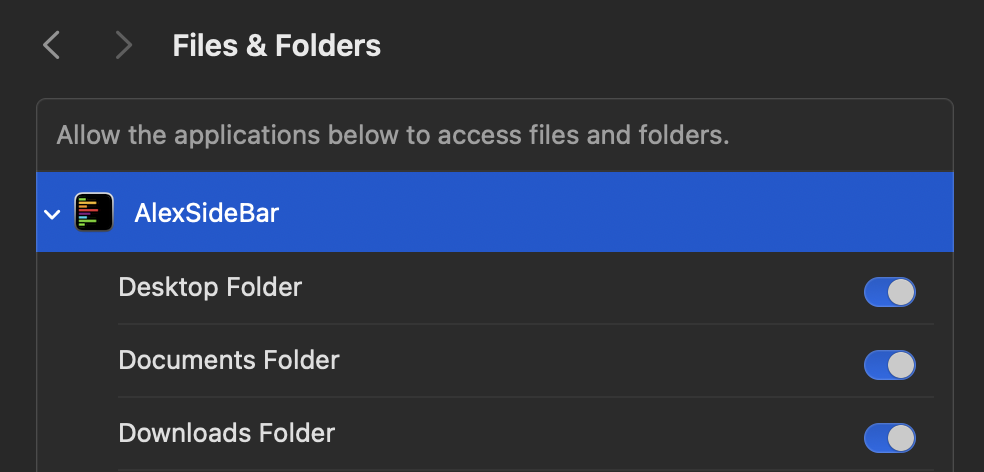
2. Navigate to Privacy & Security → Files and Folders
3. Find "Alex Sidebar" in the list
4. Enable access for required folders
## Folder Access Permissions
When you first use Alex Sidebar, you will need to grant access to folders where your projects are stored. This permission helps to analyze your project files and provide relevant context to the AI assistant when working with code across different files and folders.
When opening a project, Alex Sidebar will request permission to access the folder where your Xcode project/workspace is located. This typically includes:
* Desktop
* Downloads
* Documents folders
Click "Allow" when the system permission dialog appears to grant access.
If you need to update permissions later:
1. Open System Settings
2. Navigate to Privacy & Security → Files and Folders
3. Find "Alex Sidebar" in the list
4. Enable access for required folders
 ## Sign Up & Authentication
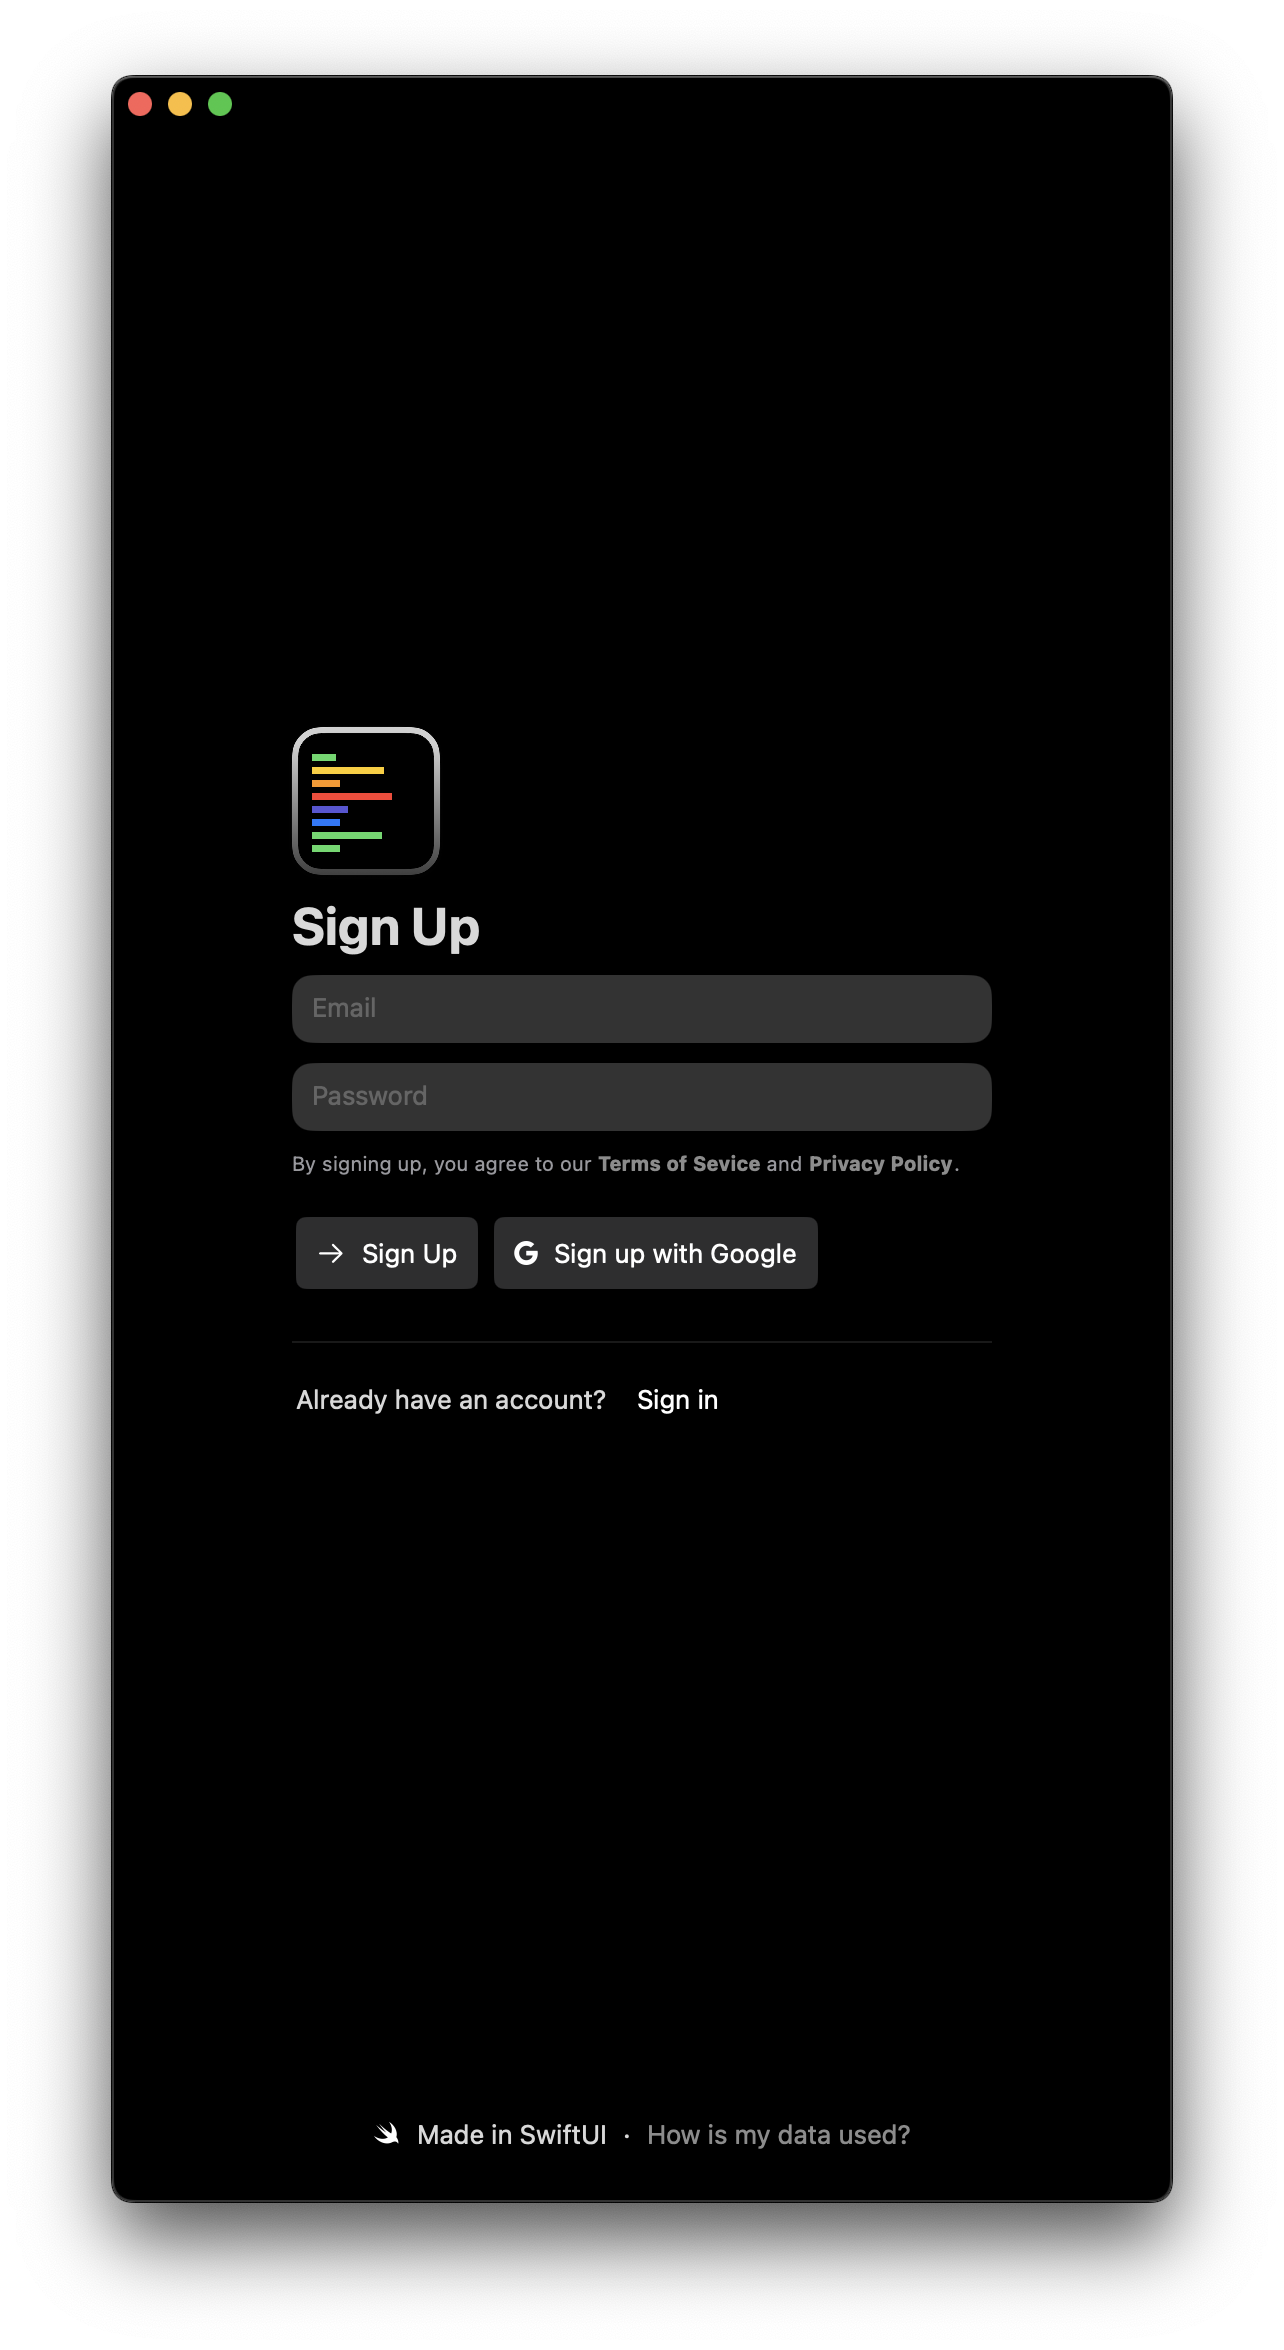
After launching Alex Sidebar, you'll be presented with sign up options:
* Enter your email and password
* Click "Sign Up", or
* Use "Sign up with Google" for faster authentication
## Sign Up & Authentication
After launching Alex Sidebar, you'll be presented with sign up options:
* Enter your email and password
* Click "Sign Up", or
* Use "Sign up with Google" for faster authentication
 If you choose Google sign-in, you'll see a system prompt to authorize the connection:
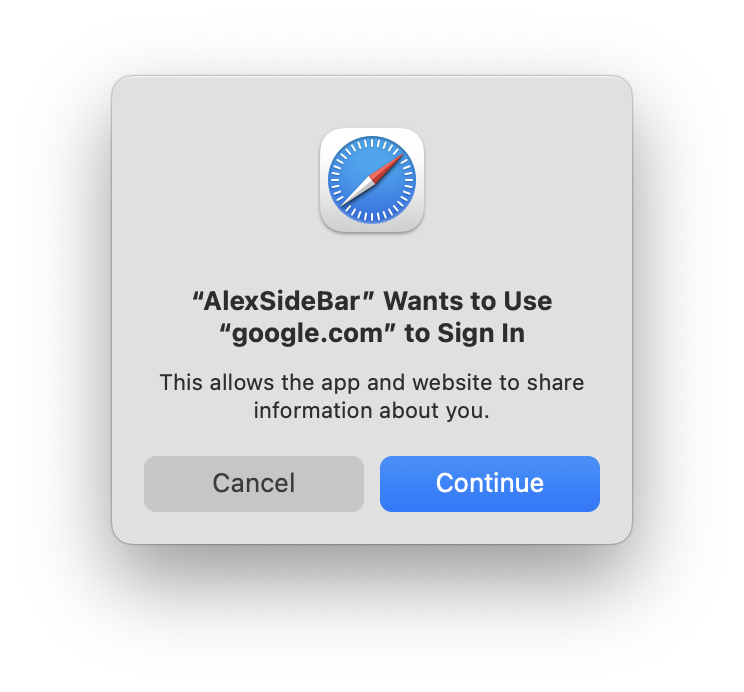
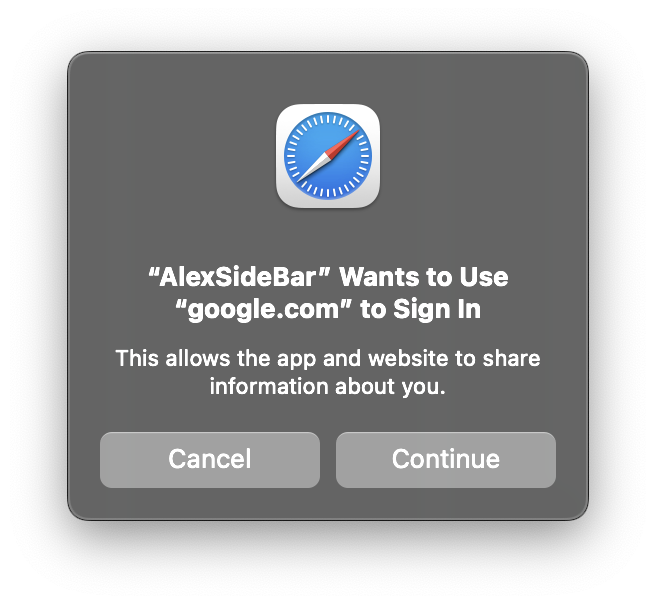 Click "Continue" to allow Alex Sidebar to authenticate with your Google account.